


Photographing small birds is one of the most wonderful forms of nature photography. It can be tricky and require patience. However, it is a fantastic way to practice mindfulness in nature. I have been fortunate enough to tutor some great students in this skill. Here is my complete guide to small bird photography.
Preparation
In your kit bag you’ll need a suitable lens with spare batteries, memory cards and a rain cover (or at least something to wipe your lens with!). My kit is a Canon 5D Mark IV with 100-400mm lens and 1.4 extender.
I prefer to use a monopod than a tripod for stability. I use a Manfrotto 4 section carbon fibre monopod, which is lighter and more portable than a tripod. I often shoot hand-held, but my camera is a pretty hefty weight to hold stable for long periods and the monopod has been invaluable.
Location
Anywhere birds may visit is your potential stage. If you’re lucky enough to have a garden, put out some feeders and allow a little time for the birds to find them. Local parks and nature reserves are obvious locations. Learn where there are hides and use these when you can.
If you do go to a park or reserve, take some bird food. Black sunflower seeds will make you very popular!
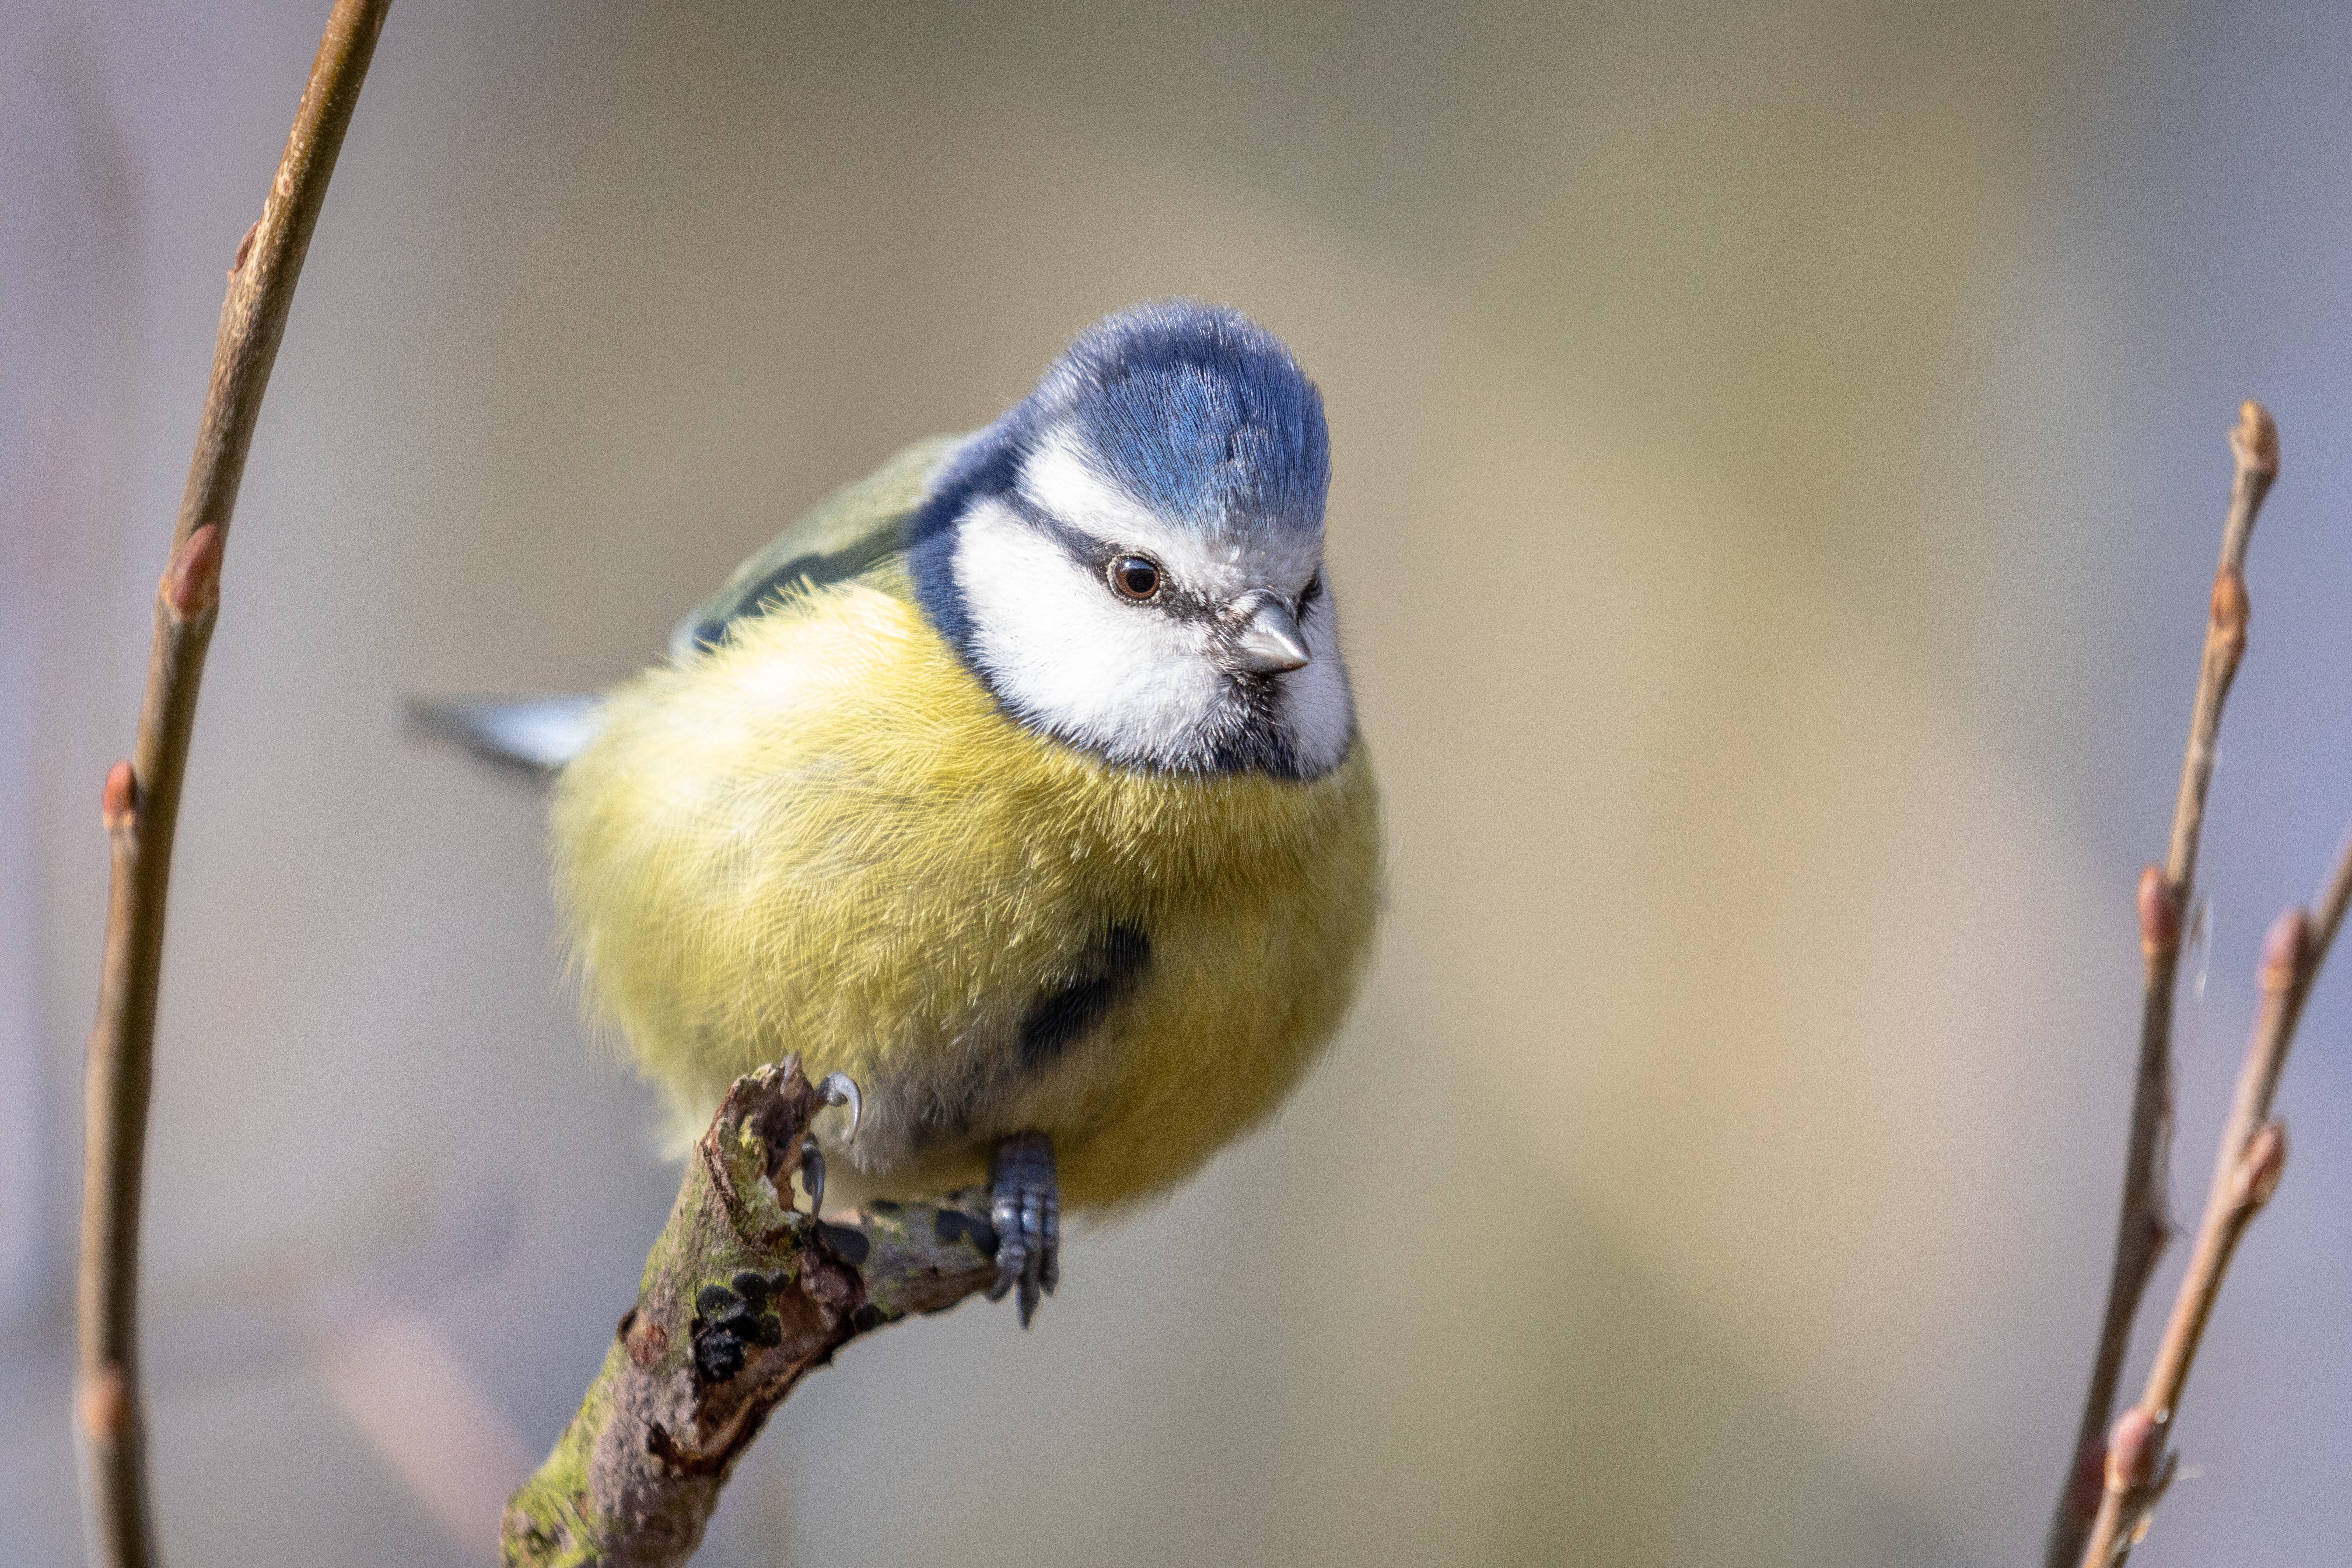
Try to find good ‘frames’ within which to place your birds. There may be a branch with spring blossom, or autumnal colours depending on the season. That’s where you will want your bird to perch. Try to find background which is uncluttered; this allows for good bokeh as the background for your images.
Watch first
Patience is key. Many forget this. Watch and be still. The longer you do this, the more the birds will ignore you and continue with their regular behaviour.
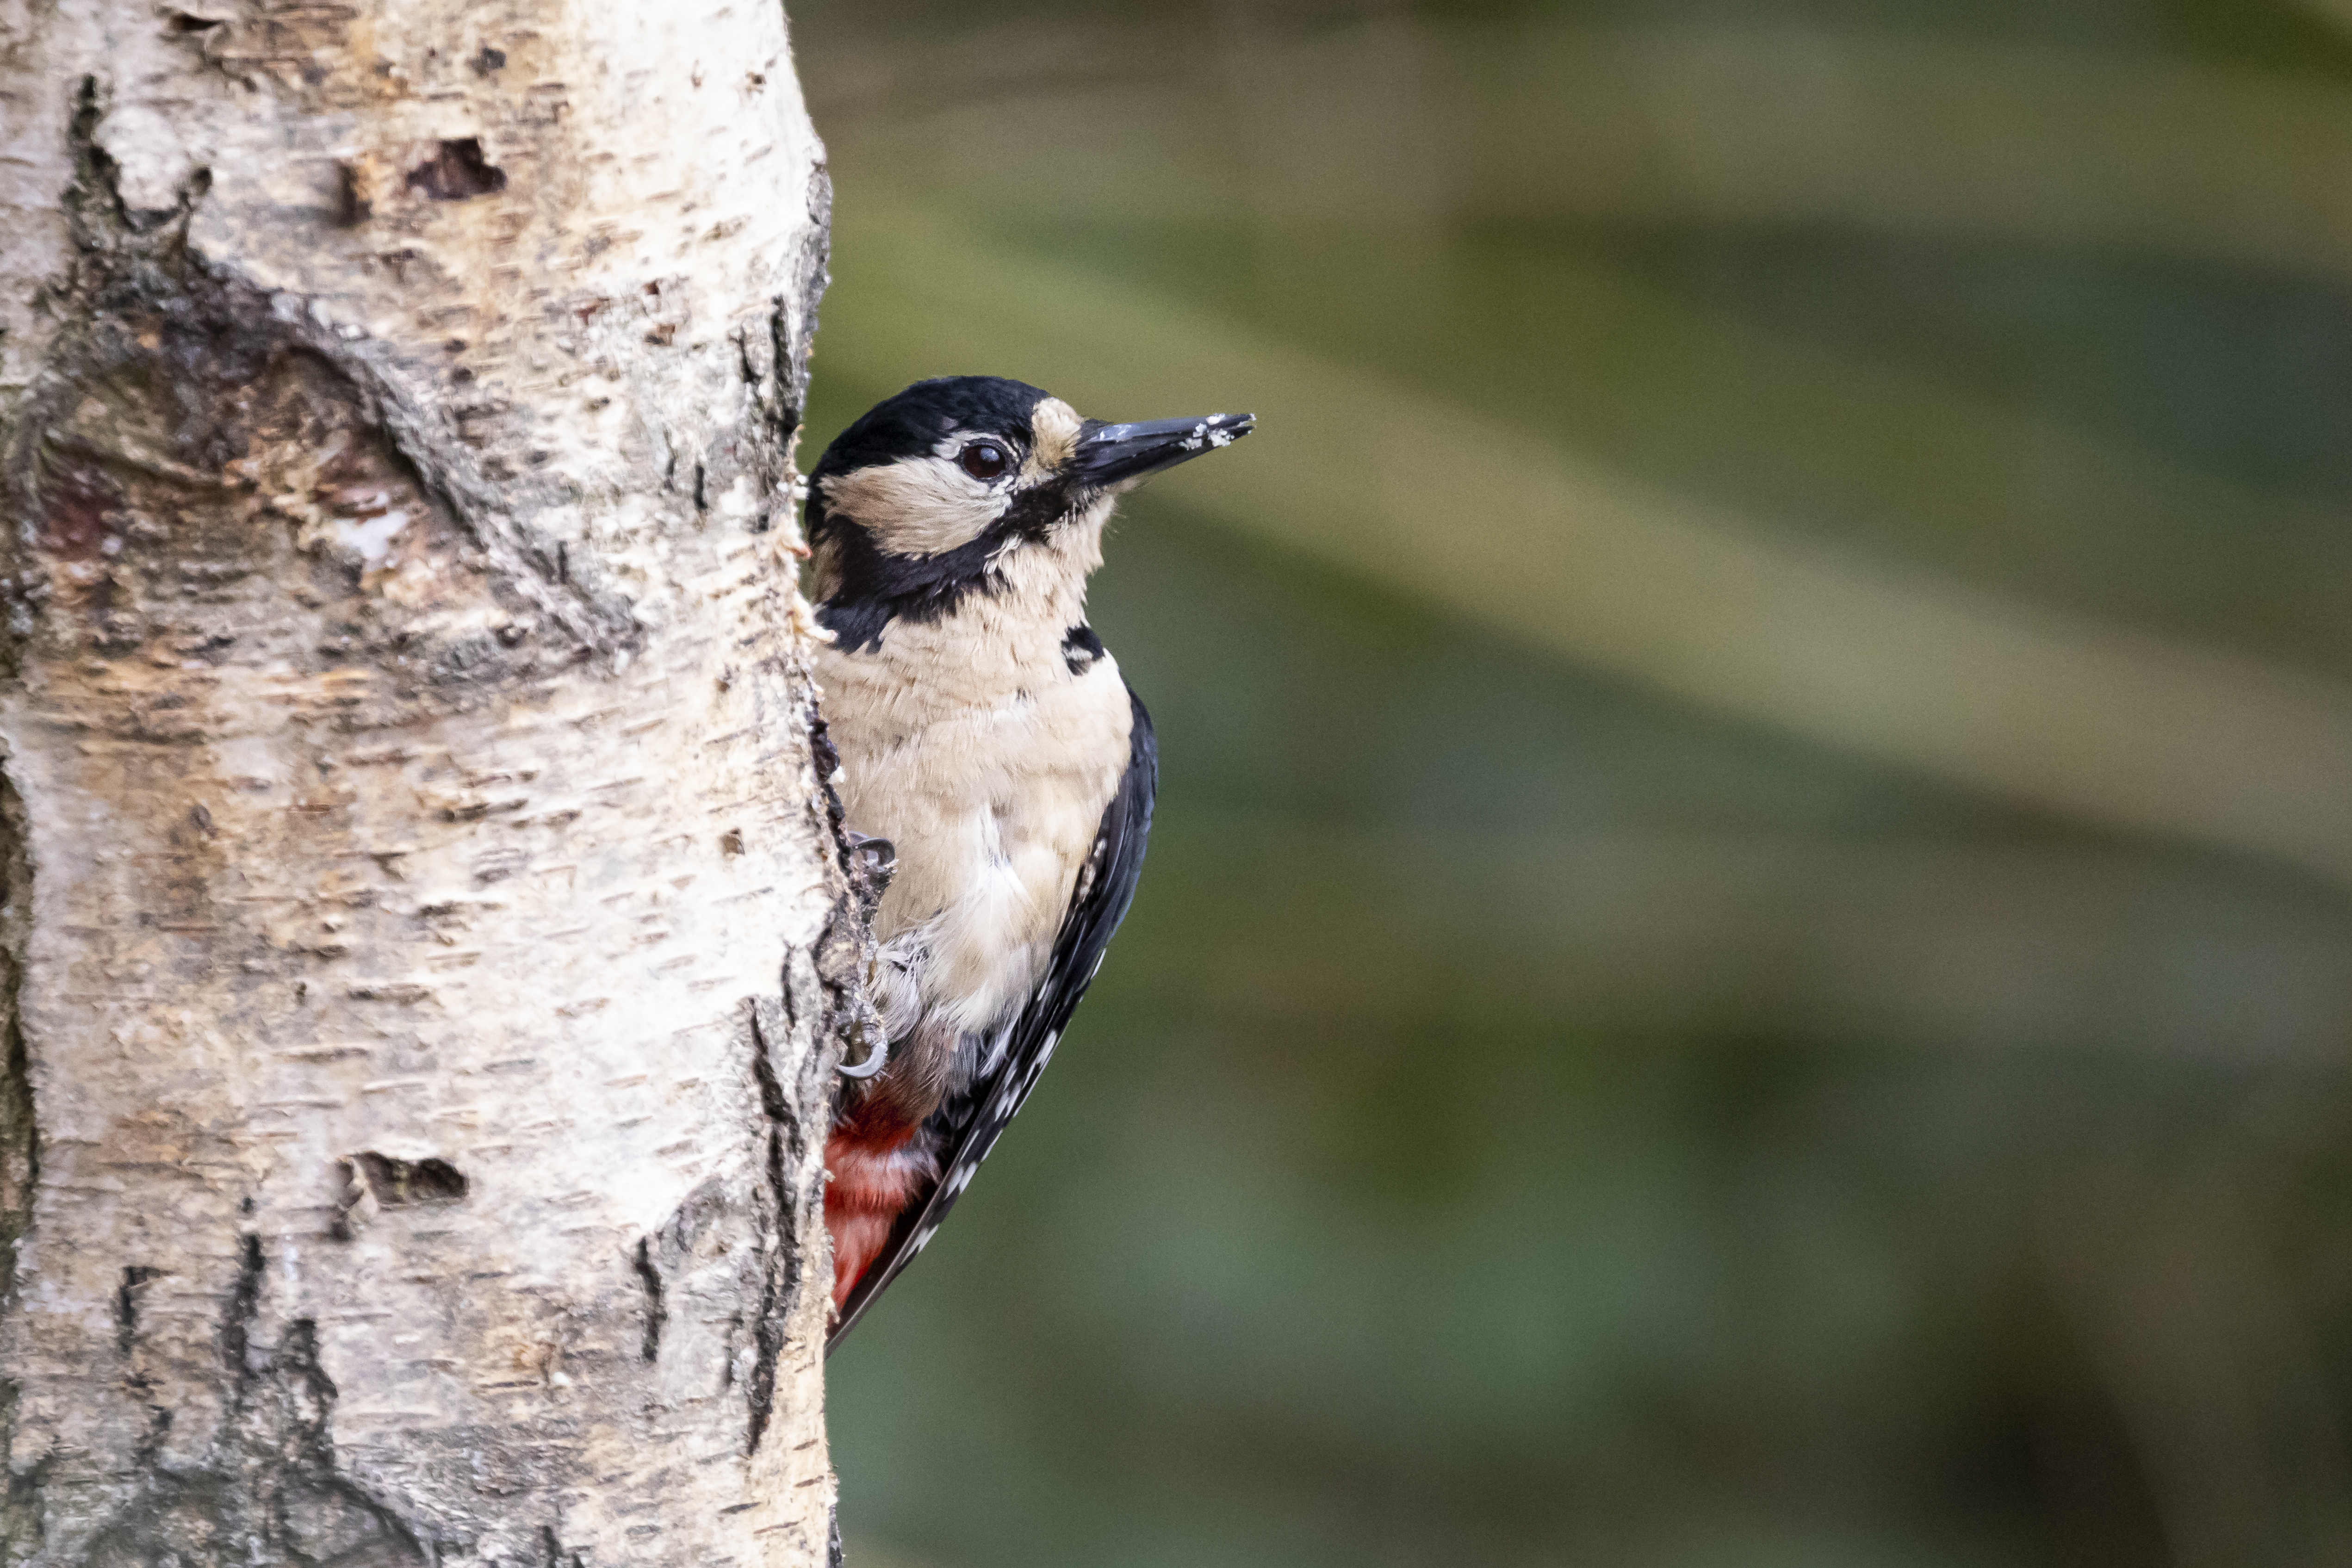
Look at the movement of the birds, where they land before feeding and how the light falls on them. Shift position as needed. The ideal pose will have the sun catch the eye of the bird, giving a little catchlight which works just as effectively in the animal kingdom as with people!
Methods
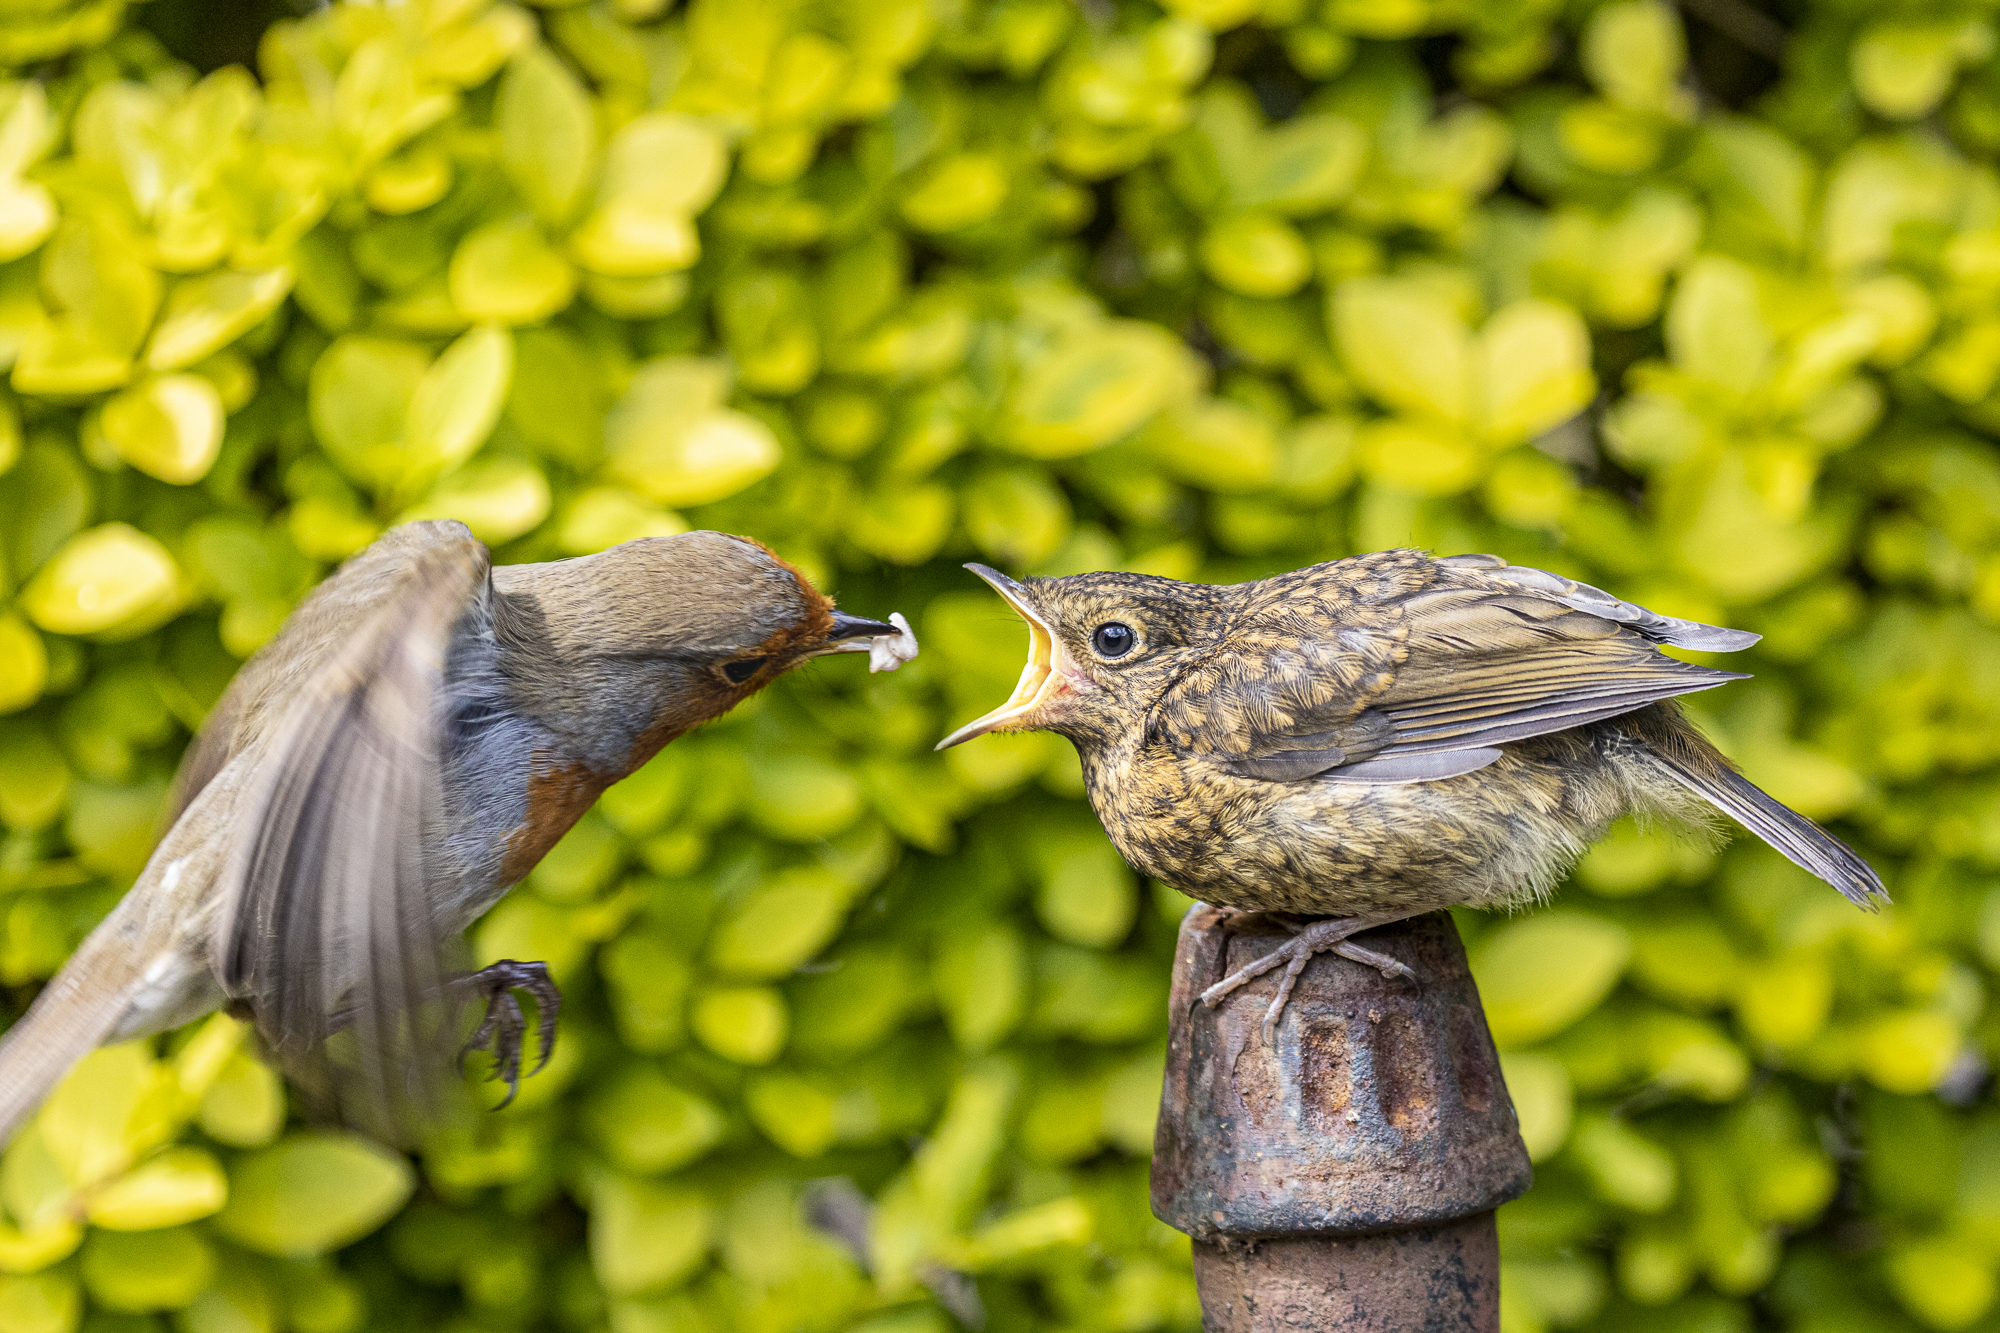
When a bird lands in the spot you have chosen, focus and shoot. My settings are Manual mode on AI Servo, aperture as wide as possible (with a 1.4 extender on my lens this is f/8) and adjust the shutter speed with ISO on auto, checking regularly to ensure this does not get too high for quality photos. On many cameras you can set a maximum ISO; beyond 12800 you’ll probably have too much noise to give good print quality. Shutter speed is what I constantly adjust – if a bird is completely still you can dial this down as low as 200, but usually it needs to be at least 800 to freeze small bird movement and if they are flying I’ll be at anywhere between 1200 – 8000!
Different birds have different rates of movement and you’ll notice this rapidly when watching as a bird photographer. Robins are often posers, blue tits flitty. Long-tailed tits travel in packs, as do sparrows. Learning some of the most common birdsong can help you anticipate the presence of birds. If a bird is about to fly off it will often dip its tail and do a poo!
I use single point focus on the head of the bird. Occasionally the micro-focus, but only if a bird is hiding in foliage and I need to be fairly precise to pick it out. Sometimes I will use the 4 or 9 point focus extend, but only if I have a clear view – I don’t want the camera to mistakenly pick up a branch instead of the bird.
I use back button focusing, but this is a matter of personal preference – when I am teaching someone who is new to all of this I would not suggest it immediately.
When a bird is in my frame I use continuous shooting mode, capturing numerous frames at a time. Bird behaviour and movement is so erratic and sudden that you have the best chance of capturing magical scenes in this way. Yes, you will delete plenty later, but that’s the joy of digital cameras! The birds will grow accustomed to the shutter noise as well – but I do look forward to the day when silent shutter means just that. I do have quiet shutter enabled on my camera, but you do still get those looks from the purists in some bird hides! (it’s a lot easier if you have the hide to yourself!)
Finally, I am patient some more. I return to successful locations in order to improve my shots. I have one of the preset dials on my camera set up for this type of photograph. The settings I use are equally useful for small pet photography, and even for children!
I don’t like to ‘doctor’ my photographs too much in post-production – but this is a long enough post without broaching the world of Adobe! I shoot in RAW and use Lightroom CC for lens corrections etc.
And that’s it!
I hope this has helped anyone starting out in bird photography. What are your best tips for small bird photography?
AP Yates, March 2022


Leave a reply to apyateswrites Cancel reply